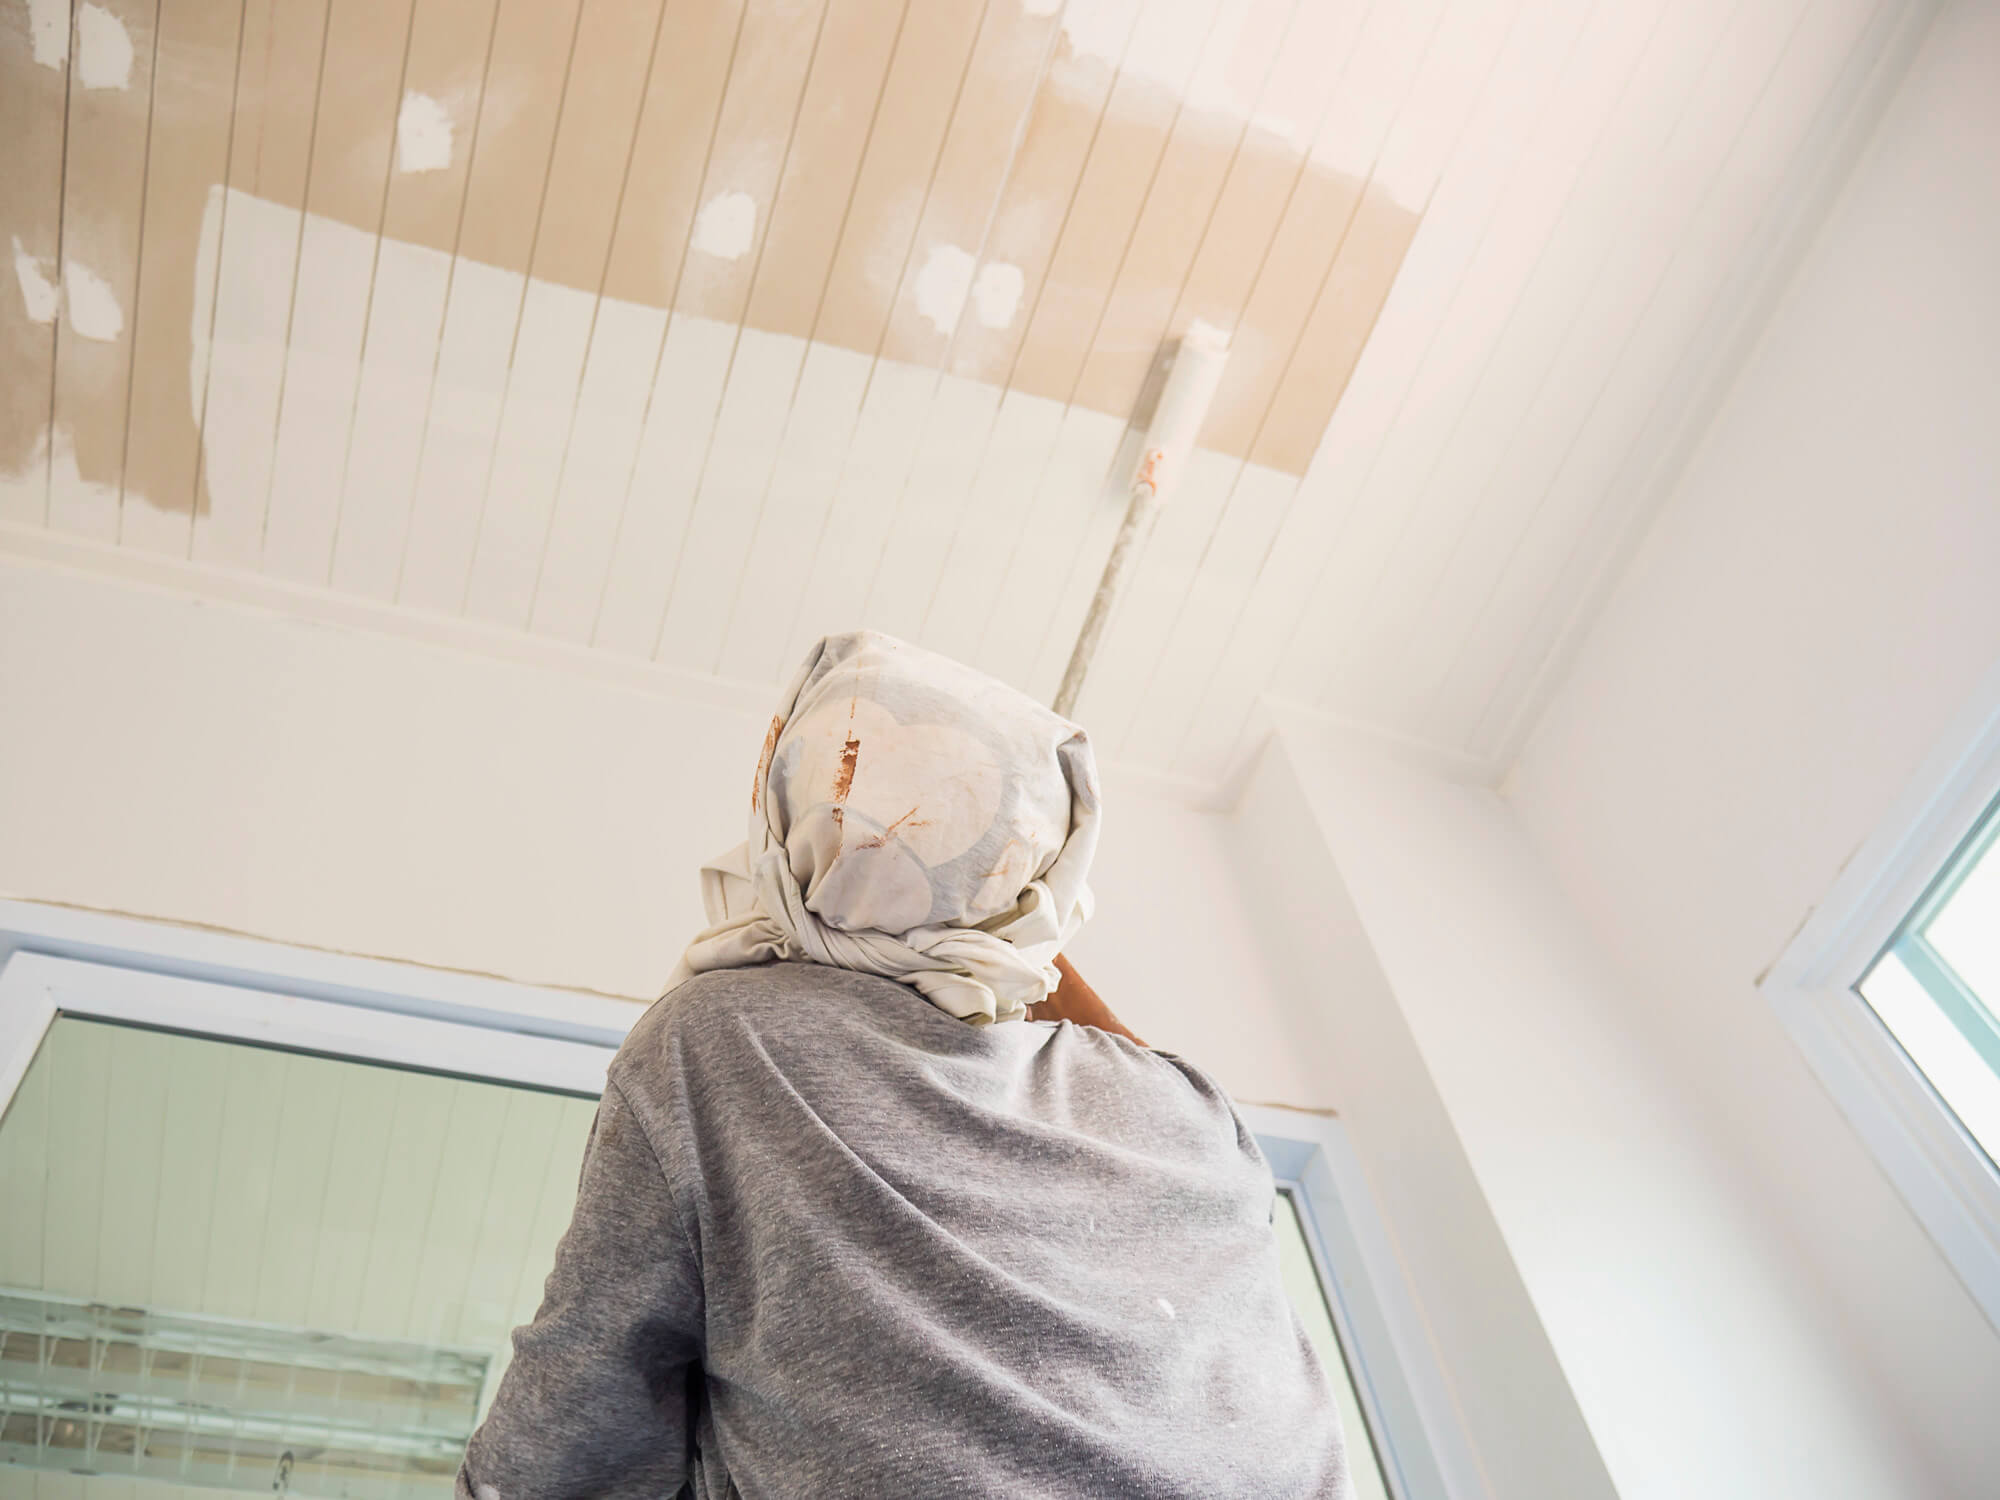
Painting high ceilings can be challenging, but ensuring a beautiful and safe outcome. In this article, we’ll show you through the process, from preparation to proper technique, ensuring you achieve a stunning, professionally painted high ceiling.
Step 1: Prepare the Room
Proper preparation is vital to a successful painting project. Before you start painting your high ceilings, follow these steps:
• Remove furniture: Clear the room of furniture or move it to the center and cover it with plastic sheeting to protect it from paint splatters.
• Protect the floor: Lay down drop cloths or plastic sheeting on the bottom to catch any drips or spills.
• Clean the ceiling: Use a long-handled duster or broom to remove any dust or cobwebs from the ceiling.
Step 2: Gather Necessary Instruments and Equipment
You’ll need the right tools and equipment to paint high ceilings safely and effectively. Gather the following items:
• Ladder or scaffolding: Choose a sturdy, safe ladder or scaffolding that reaches the necessary height.
• Extension pole: Attach your paint roller to an extension pole to paint hard-to-reach areas.
• Paint roller and brushes: Select a high-quality paint roller and brushes for smooth application.
• Paint tray: Use a paint tray to access your paint while working efficiently.
• Safety equipment: Wear a safety harness, non-slip shoes, and protective eyewear to ensure safety.
Step 3: Choose the Right Paint
Select a high-quality, durable paint suitable for ceilings. Consider the finish (from flat to glossy), coverage quality, drying time, and low VOCs for better indoor air quality. Choose a color that complements your room’s design.
Step 4: Apply Painter’s Tape
Apply painter’s tape to protect adjacent surfaces like walls, trim, and light fixtures from paint drips or splatters. Ensure the tape is pressed down firmly along the edges for clean, crisp paint lines during the painting process.
Step 5: Cut In and Paint the Edges
Begin by cutting in the edges and using a brush to paint the ceiling’s perimeter carefully while maintaining a straight line. It ensures a clean finish before tackling the rest of the ceiling area.
Step 6: Paint the Ceiling
With your room prepared, tools and equipment gathered, and edges cut in, you’re ready to paint the ceiling. Follow these steps:
• Load your paint roller: Dip it in the paint tray, ensuring it’s evenly coated.
• Start in a corner: Begin painting in one corner of the room, working in sections.
• Use an “N” or “W” pattern: Paint using an “N” or “W” pattern to ensure even coverage.
• Blend roller marks: Lightly go over the painted area with the roller to blend any roller marks and create a smooth finish.
• Let the paint dry: Follow the manufacturer’s recommended drying time before applying more coats if necessary.
Step 7: Clean Up
After completing the painting process, it’s time to clean up:
• Remove painter’s tape: Carefully peel off the painter’s tape while the paint is still slightly tacky to prevent peeling.
• Clean your tools: Wash brushes, rollers, and paint trays with soap and water.
• Dispose of used materials: Properly dispose of used drop cloths, plastic sheeting, and any leftover paint.
• Replace furniture: Once the paint is completely dry, move the furniture back into place.
In conclusion, painting high ceilings can be challenging, but following these steps and using the proper tools and techniques can achieve a beautiful, professionally painted ceiling while ensuring your safety.


