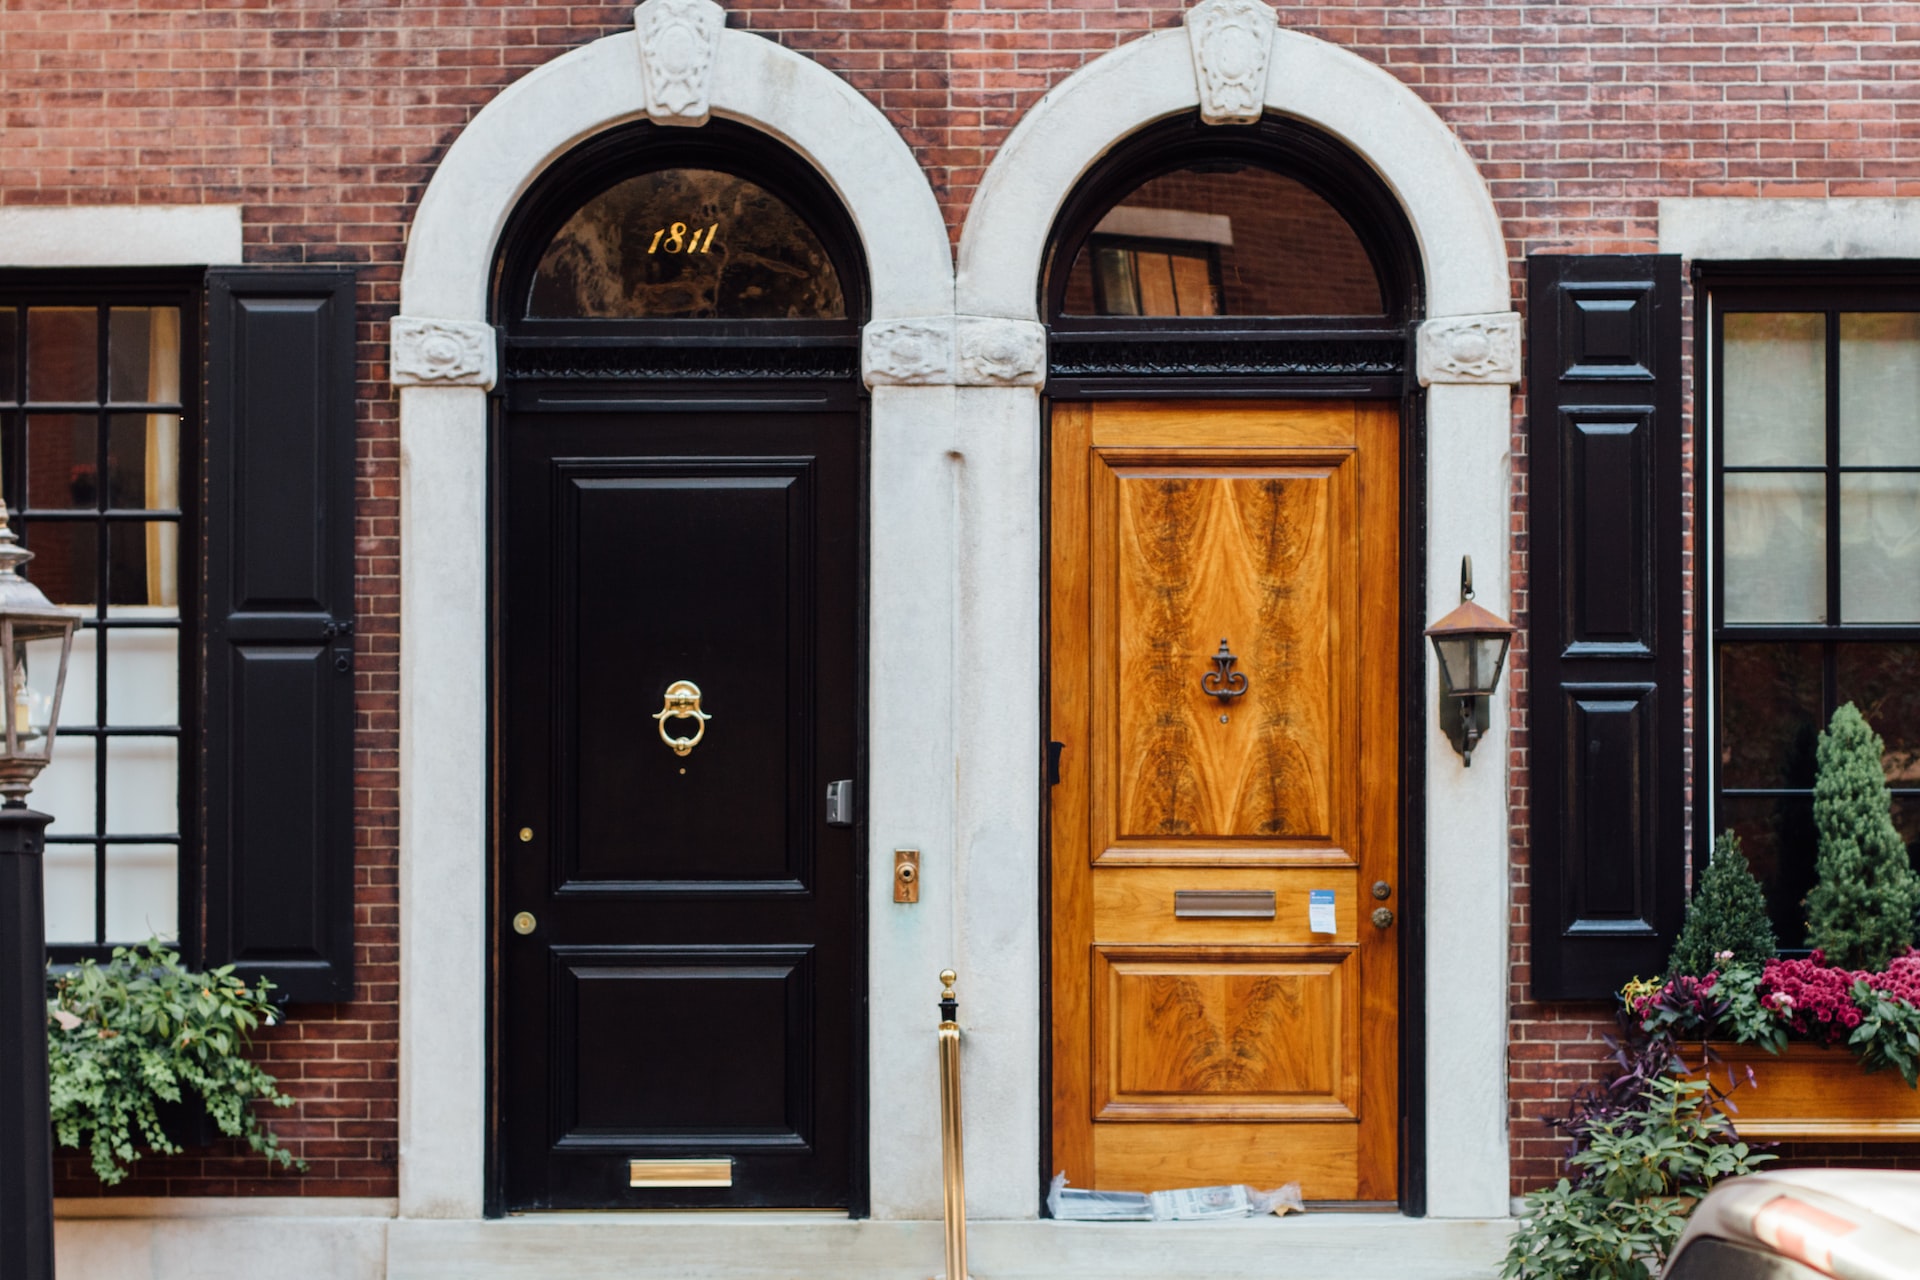
Looking to give your home a facelift? Want to make a statement without breaking the bank? Painting your interior doors can be a game-changer! In fact, a survey found that painting the interior of your home can yield a 107% return on investment. That’s a smart investment in anyone’s book!
And you’re not alone. The Sherwin-Williams Painting Survey found that 74% of homeowners are planning to paint their homes within the next year. So, let’s get those doors looking fresh and fabulous!
But what if you’re not up for the hassle of removing doors to paint them? No problem! Painting an interior door without removing it is a simple process that can be done with a few basic tools and materials.
In this guide, we’ll show you how to do it like a pro, with some insider tips to make the process easy-peasy. Read on!
How to Paint an Interior Door Perfectly
Materials Needed
Before you start, gather all the materials you will need for the project. You will need:
- Painter’s tape
- Drop cloth
- Fine-grit sandpaper
- Deglosser or sanding block
- Primer
- Paint
- Paintbrushes
- Small foam roller
Step 1: Clean the Door
The first step in painting an interior door is to clean it thoroughly. Remove any dirt, grime, or grease with a damp cloth. Allow the door to dry completely before proceeding to the next step.
Step 2: Protect the Area
Protect the surrounding area with a drop cloth to avoid any accidental spills or splatters. Cover the hinges, doorknobs, and any other hardware with painter’s tape to prevent getting paint on them.
Step 3: Sand the Door
Using fine-grit sandpaper, lightly sand the surface of the door to create a surface to which the primer to adhere. Alternatively, you can use a deglosser or sanding block to remove the glossy finish from the door. This step will help the primer and paint adhere better to the surface of the door.
Step 4: Prime the Door
Using a paintbrush or small foam roller, apply a thin layer of primer to the door. Allow the primer to dry completely before applying the next coat. You may need to apply more than one coat of primer to achieve the desired finish.
Step 5: Paint the Door
Once the primer is dry, it’s time to paint the door. Using a paintbrush or small foam roller, apply a thin layer of paint to the door. Start at the top of the door and work your way down to avoid any drips or runs. Allow the paint to dry completely before applying the next coat. You may need to apply more than one coat of paint to achieve the desired finish.
Step 6: Remove the Tape and Touch Up
Once the paint is dry, carefully remove the painter’s tape from the hinges, doorknobs, and any other hardware. Inspect the door for any areas that need a touch-up and apply paint to those areas. Allow the door to dry completely before using it.
How Weiler Painting Can Help?
Painting an interior door without removing it can be a challenging task for a DIYer. That’s where Weiler Painting comes in. As one of the best painters in town, Weiler Painting offers professional interior and exterior painting services for both residential and commercial clients.
With our years of experience, we can paint your interior doors efficiently and effectively without causing any damage to your property. We also have the necessary tools and equipment to complete the job quickly and to a high standard.
The Punchline
Painting an interior door without removing it is a great way to update the look of a room without spending too much money. With the right tools and materials, anyone can paint an interior door themselves.
However, for a professional finish, it’s always best to leave it to the experts at Weiler Painting. So why wait? Give us a call today and let us help you transform your interior doors into works of art!


