Preparing a room for painting is essential for achieving professional-quality results. The proper preparation ensures a smooth painting process and a flawless finish. This article will tell you the stages to prepare your room for painting.
Step 1: Clear the Room
To prepare your room for painting, you should first clear the space. This step involves:
- Removing furniture: Clear out as much furniture as possible from the room. If you cannot remove some oversized items, move them to the center and wrap them with drop cloths or plastic sheeting.
- Taking down wall decorations: Remove any artwork, mirrors, or other wall decorations.
- Unscrewing outlet covers and light switch plates: Remove any outlet and light switch plates to protect them from paint drips.
Step 2: Clean the Walls
A clean surface is essential for the paint to adhere correctly. To clean your walls, follow these steps:
- Dust the walls: Remove any dust or cobwebs from the walls using a broom or vacuum cleaner with a brush attachment.
- Wash the walls: Mix a mild detergent with warm water and gently clean the walls with a sponge or cloth. Focus on areas with visible dirt, grease, or fingerprints.
- Rinse the walls: Use clean water and a fresh sponge to rinse off any remaining detergent residue.
- Allow the walls to dry: Give the walls enough time to dry completely before proceeding to the next step.
Step 3: Protect Floors and Trim
To avoid the paint from getting on your floors and trim, take the following precautions:
- Lay down drop cloths: Cover your floors with canvas, plastic sheeting, or old bedsheets to protect them from paint spills and splatters.
- Tape off trim: Use painter’s tape to cover baseboards, doors, and window frames. It will help you achieve clean lines and protect your decoration from paint drips.
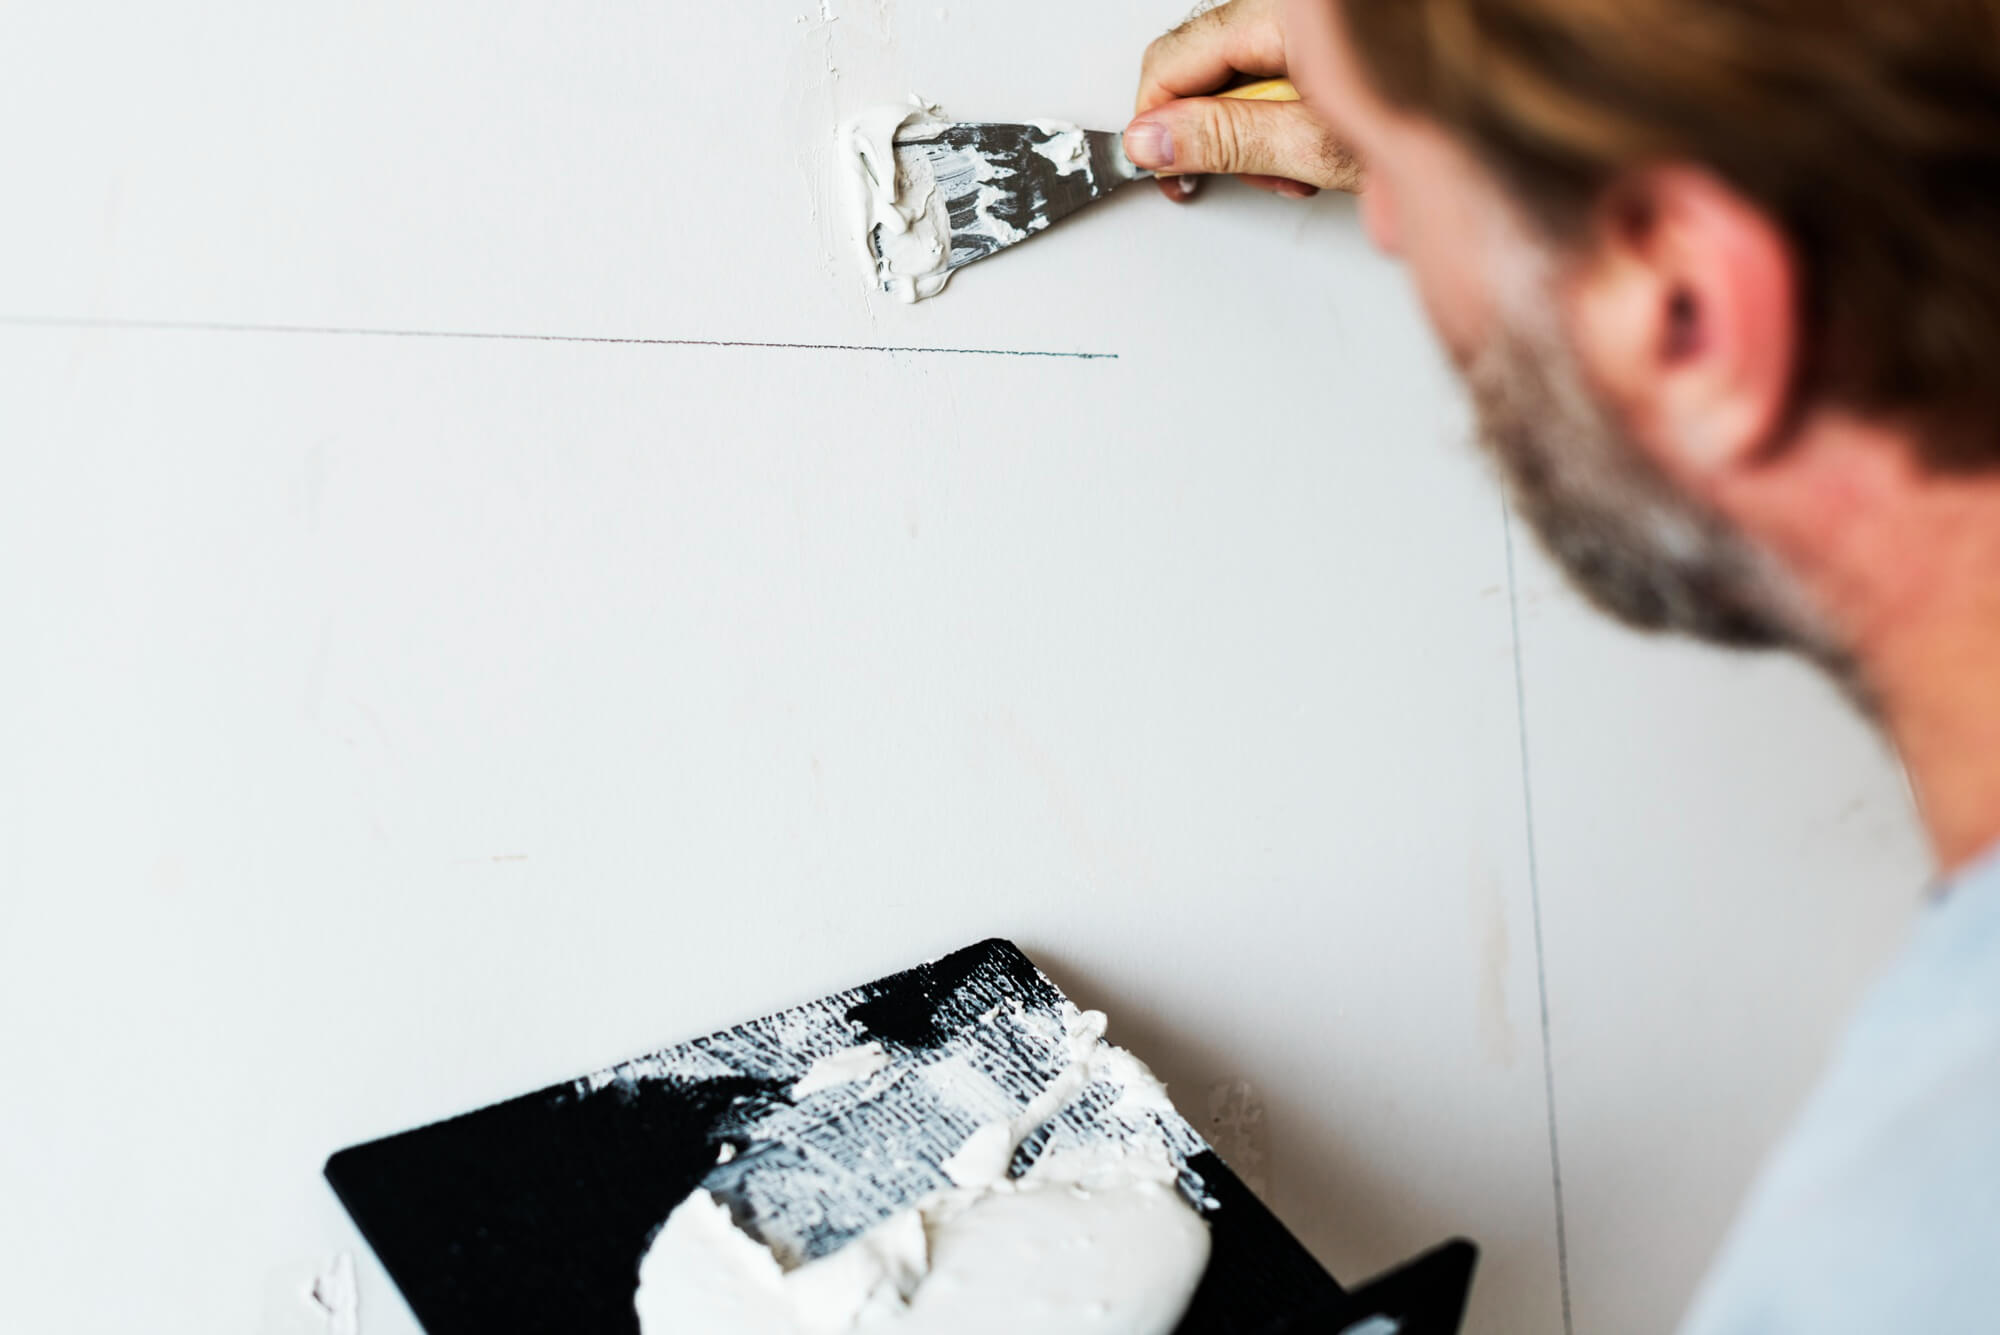
Step 4: Repair Wall Damage
Before painting, it’s crucial to address any damage to your walls. This includes:
- Filling small holes: Use a lightweight spackle or pre-made patching compound to fill small gaps, such as those left behind by nails or screws. Allow the filler to dry, then sand it soft.
- Repairing immense damage: Use joint compound and a putty knife to repair larger holes or cracks. Allow the mixture to dry, then sand the area smoothly.
- Caulking gaps: Use a paintable caulk to fill gaps between the wall and trim, such as baseboards or crown molding.
Step 5: Prime the Walls
Priming is crucial for improving paint adhesion, blocking stains, and reducing the number of paint coats needed. To prime your walls:
- Choose the suitable primer for your wall surface and paint type.
- Apply a thin, even coat using a paint roller, starting from the top and working downwards.
- Allow the primer to dry as per manufacturer’s instructions before painting.
Step 6: Choose the Right Paint and Tools
Selecting your project’s correct paint and tools is crucial for achieving a professional-looking result. Consider the following when making your choices:
- Paint type: Choose a paint suitable for your specific needs, such as latex or oil-based paints. Consider factors like durability, ease of application, and drying time.
- Paint Finish: Select a finish that best suits your room and its intended use. Options include flat, eggshell, satin, semi-gloss, and gloss finishes.
- Paint brushes and rollers: Invest in high-quality brushes and rollers for a smoother application and better finish. Choose the appropriate brush size and roller nap length for your project.
Step 7: Apply the Paint
Once your room is prepared and your tools are ready, it’s time to apply the paint. Follow this procedure for a successful paint job:
- Start with the edges: Use a paintbrush to “cut in” around the room’s boundaries, such as along the ceiling, trim, and corners. It will create a clean border for the rest of the paint.
- Roll on the paint: Dip a roller into the tray, ensuring it is evenly coated. Apply the paint to the wall using smooth, overlapping strokes. Work in small sections, moving from top to bottom and left to right.
- Allow the paint to dry: Let the first coat dry as per the manufacturer’s instructions before applying a second coat.
- Apply additional coats: Depending on the paint color and coverage, you may need additional coats to achieve a consistent, even finish.
Step 8: Clean Up and Reassemble the Room
When the paint is dry, you can begin cleaning up and reassembling your room:
- Remove painter’s tape: Carefully peel off the painter’s tape from the trim and other protected areas.
- Clean brushes and rollers: Rinse brushes and rollers thoroughly, removing all paint residue. Let them dry before storing them away.
- Dispose of paint cans and materials: Properly dispose of any leftover paint, empty paint cans, and other materials according to local regulations.
- Replace outlet covers and switch plates: Reinstall any outlet and light switch plates you removed earlier.
- Move furniture and decorations back in. Once the paint is completely dry, move your furniture and wall decorations back into the room.
Conclusion
Properly preparing a room for painting is essential for achieving a professional-quality finish. By following these steps from Weiler Painting, you ensure a smooth painting process and a result you’ll be proud of.