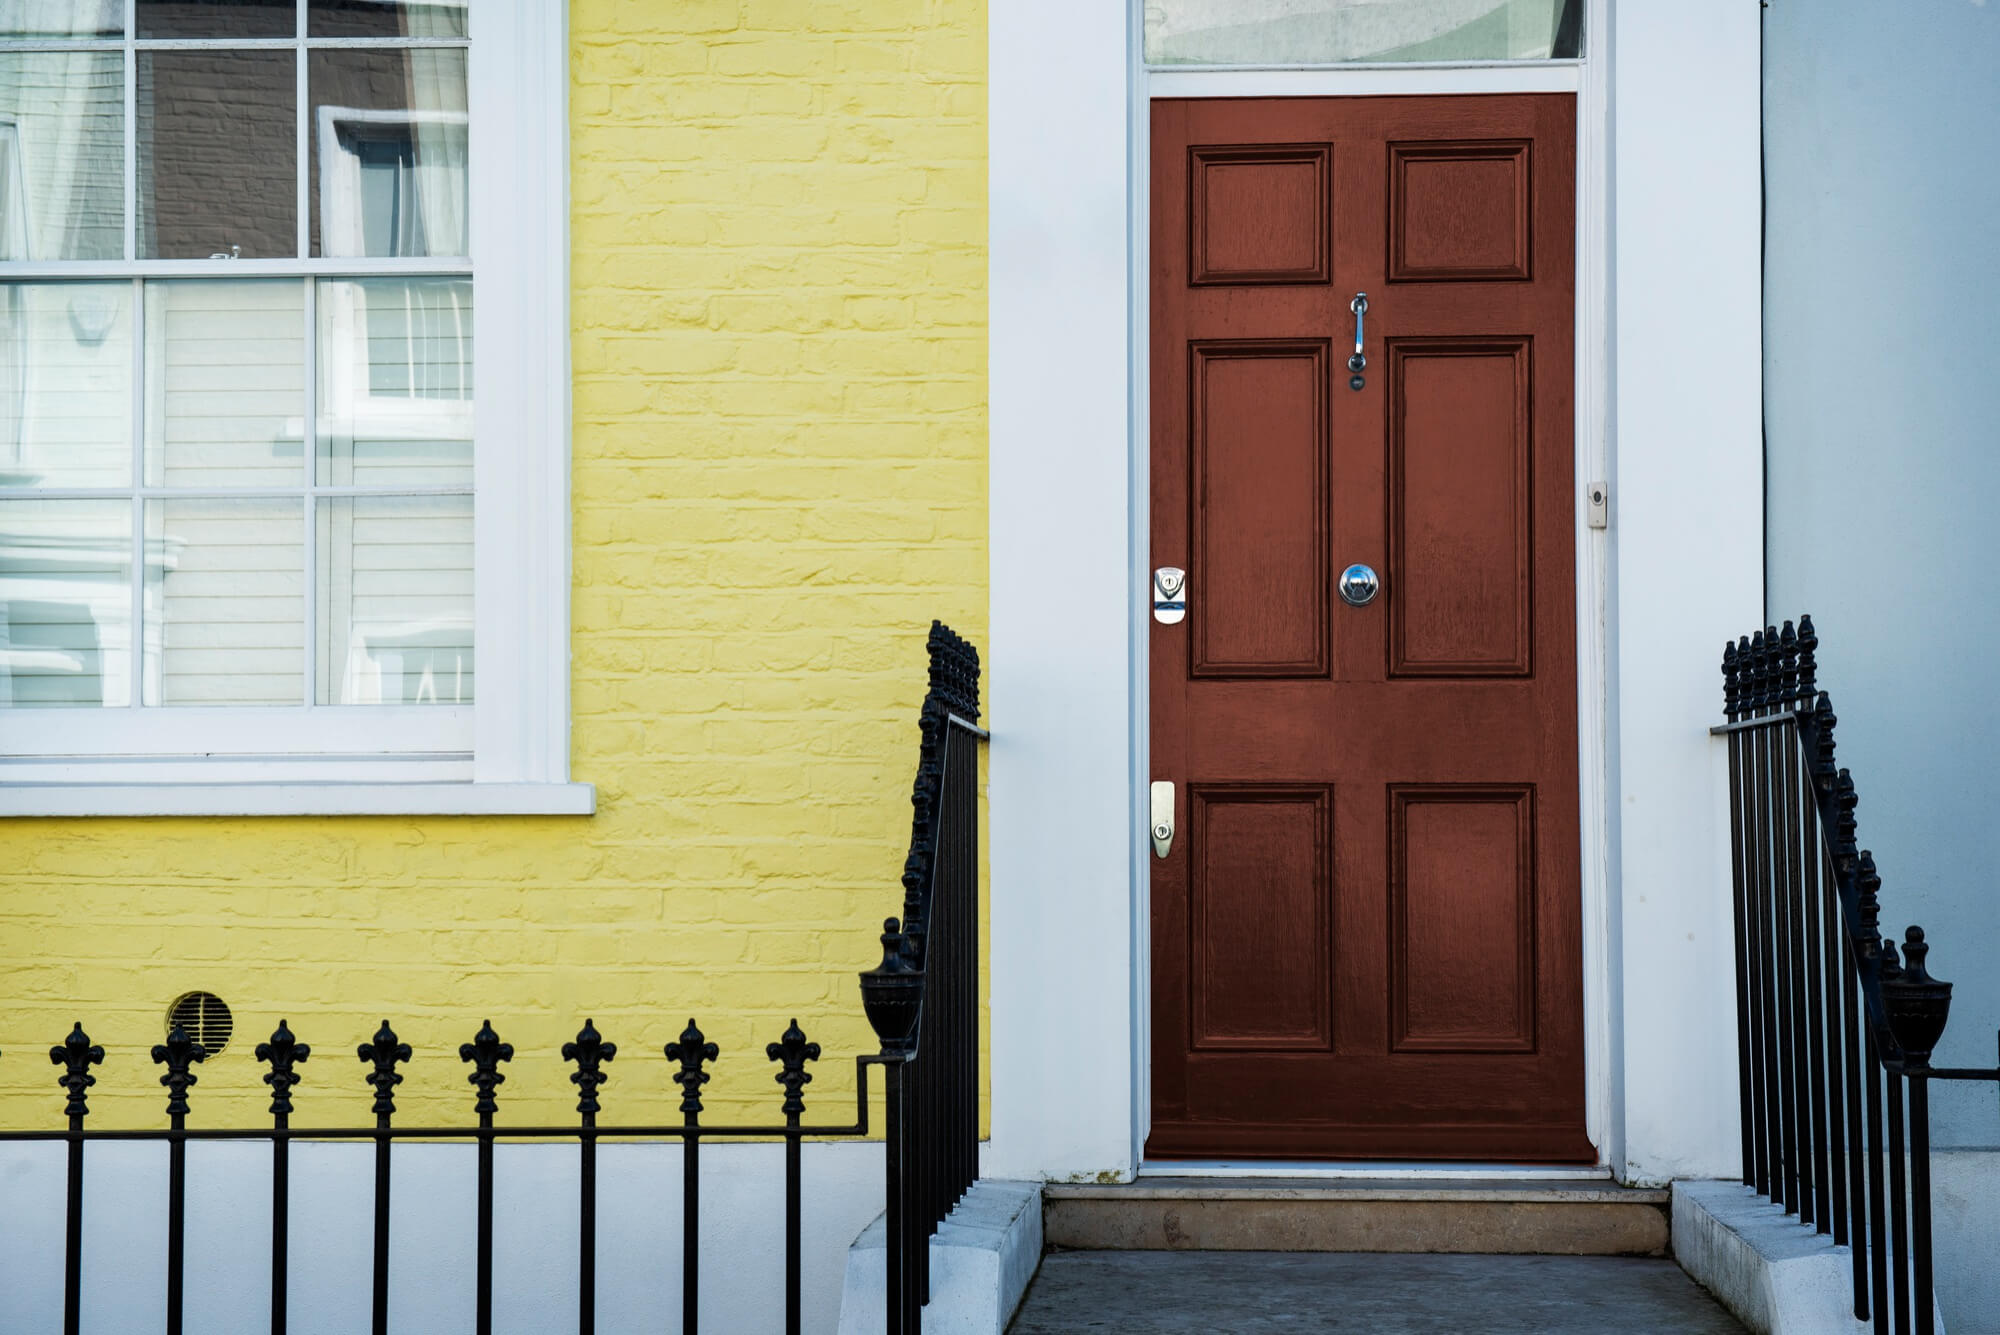
A freshly painted door and window can instantly enhance the appearance of a home. However, proper preparation and technique are essential for a long-lasting, professional-looking finish. In this article, Weiler Painting will guide you through the step-by-step process of painting a door and window, from preparation to finishing touches.
Step 1: Gather Materials and Tools
Before starting the painting process, ensure that you have all the required tools and materials:
• Paintbrushes (small, medium, and large)
• Paint roller and roller tray
• Sandpaper (220-grit)
• Painter’s tape
• Drop cloths or plastic sheeting
• Paint (primer and topcoat)
• Putty knife or painter’s tool
• Cleaning supplies (soap and water or TSP)
Step 2: Prepare the Surface
Proper preparation is crucial to achieving a smooth and long-lasting finish. Follow these steps to prepare the door and window surface for painting:
• Remove all hardware from the door and window, including handles, locks, and hinges.
• Clean the surface entirely with soap and water or TSP to remove dirt, dust, and grease.
• Sand the surface with 220-grit sandpaper to make a rough surface to let the paint stick better.
• Fill any holes or damages in the surface with wood stuffing or putty using a putty knife or painter’s tool.
• Let the putty or filler parch thoroughly, then sand the surface until smooth.
Step 3: Prime the Surface
Priming the surface is essential to achieving a smooth and durable finish. Follow these steps to prime the door and window surface:
• Apply painter’s tape to any spots you want to protect from paint.
• Use a coat of primer on the door and window using a brush or roller.
• Allow the primer to dry completely, following the manufacturer’s instructions.
Step 4: Paint the Surface
Now that the surface is primed, it’s time to paint the door and window. Follow these steps to paint the surface:
• Apply painter’s tape to any areas you want to protect from paint.
• Mix the paint thoroughly and pour it into a roller tray.
• Sink the roller into the paint and roll off any excess paint on the tray.
• Use the roller to spread paint to the larger door and window sections.
• Use a paintbrush to paint the smaller sections and details.
• Allow the first coat of paint to dry completely before applying a second coat, following the manufacturer’s instructions.
Step 5: Reinstall Hardware
Once the paint has parched completely, it’s time to reinstall the hardware. Follow these steps to reinstall the hardware:
• Use a screwdriver to reattach the handles, locks, and hinges to the door and window.
• Test the hardware to ensure that it’s working correctly.
Step 6: Clean Up
After completing the painting process, cleaning up the area thoroughly is essential. Follow these steps to clean up after painting:
• Remove any painter’s tape and drop cloths or plastic sheeting.
• Clean brushes, rollers, and other painting tools with soap and water or the recommended cleaner.
• Allow the tools to dry thoroughly before storing them.
Tips for a Professional-Looking Finish
Follow these tips to achieve a professional-looking finish when painting a door and window:
• Choose a high-quality paint suitable for the door and window’s material.
• Apply the paint in thin coats to avoid drips and runs.
• Use a paintbrush to paint near the edges and details carefully.
• Allow each coat of paint to dry thoroughly before applying the next
In conclusion, painting a door or window is a straightforward process that can be achieved with the right tools, techniques, and patience. Follow the above steps to achieve a beautiful, professional-looking finish that will last years. Remember to take the time and prepare the surface properly, use high-quality materials, and apply the paint evenly for the best results.